
To set up Apple Pay or Google Pay, start by opening the Wallet or Google Pay app on your phone. Add your credit or debit cards by scanning or entering details, then verify them with your bank. For Apple Pay, confirm your device is compatible, and for Google Pay, download the app if needed. Once set up, you can make quick, contactless payments at compatible stores by holding your phone near the terminal. Keep exploring to discover more tips on mastering your digital payments.
Key Takeaways
- Verify device compatibility and update to the latest OS before setting up Apple Pay or Google Pay.
- Open the Wallet app (Apple) or Google Pay app, then add your credit or debit cards following prompts.
- Complete card verification through bank messages, email, or banking apps to activate the digital wallet.
- Use NFC and unlock your device to make contactless payments at compatible terminals.
- Manage multiple cards within the app and ensure your device has the latest software for security and smooth use.
Setting up Apple Pay and Google Pay on your phone is a straightforward process that allows you to make secure, contactless payments quickly and easily. These digital wallets store your credit and debit card information safely, so you can leave your physical cards at home and enjoy the convenience of contactless payments. First, verify your phone supports these services: Apple Pay works on iPhones 6 and later, while Google Pay is compatible with most Android devices. Before starting, update your device’s operating system to the latest version to guarantee smooth setup and security features.
Setting up Apple Pay and Google Pay enables secure, contactless payments with your digital wallet.
To set up Apple Pay, open the Wallet app on your iPhone. Tap the “+” sign or “Add Card” to begin. You can use your phone’s camera to scan your card or enter the details manually. Follow the prompts to confirm your card with your bank or card issuer. This verification might involve receiving a code via text or email, or logging into your bank’s app. Once confirmed, your card will be added to your digital wallet. You can add multiple cards and select your default payment method, which will be used automatically for contactless payments unless you choose otherwise.
Setting up Google Pay involves downloading the app from the Google Play Store if it isn’t pre-installed on your device. Open Google Pay, then tap “Get Started” and sign in with your Google account. Tap “Add a payment method” and follow the prompts to add your credit or debit card. Similar to Apple Pay, you’ll need to verify your card with your bank, which may require entering a code sent via SMS or email. After confirmation, your card will be linked to your Google Pay account. You can add more cards or remove them at any time through the app settings.
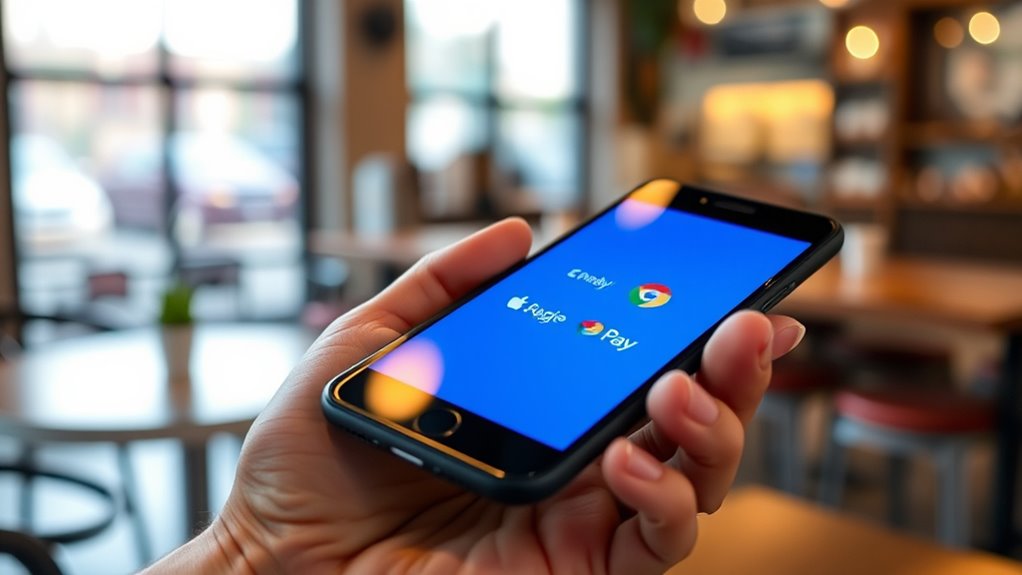
Once your digital wallets are set up, using them for contactless payments is simple. To pay, look for the contactless payment symbol at checkout. Unlock your phone and hold it near the payment terminal. Depending on your device, you might need to authenticate using Face ID, Touch ID, or your PIN. The transaction will process quickly, and you’ll receive a confirmation on your screen. Many retailers now accept NFC-enabled payments, making it easy to pay at stores, restaurants, and transit stations.
Frequently Asked Questions
Can I Use Apple Pay or Google Pay Internationally?
Yes, you can use Apple Pay and Google Pay internationally, but it depends on digital wallet compatibility with local banks and merchants. Be aware of currency exchange fees, which may apply when making cross-border transactions. Always check if your card and digital wallet support international use, and look out for any extra charges. Using these services abroad can be convenient, but understanding fees and compatibility guarantees smooth transactions.
Are There Any Transaction Limits for Mobile Payments?
Did you know that over 50% of mobile payment users face transaction thresholds or spending caps? You should be aware that both Apple Pay and Google Pay often have transaction limits, which vary by bank or region. These caps help prevent fraud and manage risk. Typically, your mobile payment app will have specific transaction thresholds, so check with your provider to understand your personal spending caps and avoid surprises during purchases.
How Secure Are My Payment Details With These Services?
Your payment details are highly secure with Apple Pay and Google Pay. They use advanced encryption technology to protect your data during transactions, making it difficult for hackers to access your information. Additionally, biometric authentication, like fingerprint or facial recognition, adds an extra layer of security, ensuring only you can authorize payments. So, you can confidently use these services, knowing your financial details are well protected.
What Should I Do if My Phone Is Lost or Stolen?
If your phone is lost or stolen, act quickly — over 80% of stolen phones are recovered when tracked promptly. Use phone tracking features like Find My iPhone or Find My Device to locate it. If you can’t recover it, immediately disable Apple Pay or Google Pay to prevent unauthorized transactions. Contact your bank to request card replacement, ensuring your funds stay protected. Taking these steps minimizes your risk and helps secure your payment info.
Do I Need an Internet Connection to Make Payments?
You don’t need an internet connection to make payments with Apple Pay or Google Pay if you’ve previously set up your cards and downloaded the necessary data. Wi-Fi isn’t necessary for offline transactions, as these mobile wallets use NFC technology to communicate with payment terminals. However, you’ll need an internet connection initially for setup and occasional updates. Offline transactions are quick and secure, making shopping convenient even without Wi-Fi.
Conclusion
Now that you know how to set up and use Apple Pay and Google Pay, you’re ready to make quick, secure payments with just a tap. Remember, a journey of a thousand miles begins with a single step, so don’t wait—start using these digital wallets today. With a little practice, paying will become as effortless as flipping a switch. Embrace the convenience and stay ahead in the digital age—your wallet’s evolution begins now.