To set up your new iPhone the right way, power it on and select your language and region. Use Quick Start to transfer data from your old device or set up manually. Connect to Wi-Fi, insert your SIM, and activate cellular service. Secure your device with Face ID or Touch ID, create a strong passcode, and enable two-factor authentication. Personalize display settings, activate iCloud backups, Find My iPhone, and customize notifications—good setup habits start here, and you’ll discover more tips along the way.
Key Takeaways
- Power on your iPhone, select language, and follow initial setup instructions for optimal configuration.
- Use Quick Start or restore from iCloud backup to transfer data efficiently.
- Connect to Wi-Fi and activate cellular service by inserting SIM or eSIM.
- Set up security features like Face ID, passcode, and enable Two-Factor Authentication.
- Customize display, notifications, privacy settings, and enable Find My iPhone for safety.

EVEO Screen Cleaner Spray - Large Screen Cleaner Bottle - TV Screen Cleaner, Computer Screen Cleaner, for Laptop, Phone, Ipad - Computer Cleaning kit Electronic Cleaner (1 Pack)
Screen Cleaner is Your Screen’s New Bestfriend! - EVEO is proud to present a screen cleaner that’s perfectly...
As an affiliate, we earn on qualifying purchases.
Powering On and Selecting Your Language

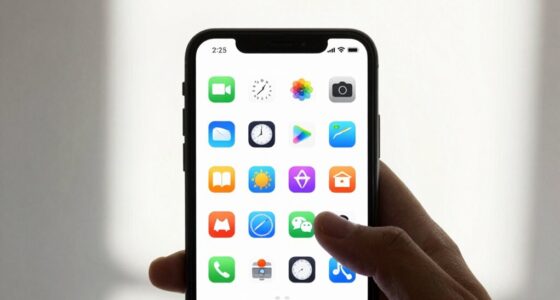
When you’re ready to set up your new iPhone, start by powering it on. Press and hold the power button until the Apple logo appears. This signals that your device is turning on and ready for setup. Once it boots, you’ll see the “Hello” screen; swipe up from the bottom to begin the setup process. The first step is selecting your preferred language. Use the touchscreen to scroll through the options and tap your language. Next, choose your country or region, which affects how information appears on your device. These initial choices set the foundation for the rest of the setup, ensuring your device is tailored to your location and language preferences. Including initial setup steps, like configuring display settings, helps optimize the device for your needs. After this, you’ll proceed to configure other settings.

Screen Cleaner Spray (16oz - 473ml) – Best Large Cleaning Kit for LCD LED OLED TV, Smartphone, iPad, Laptop, Touchscreen, Computer Monitor, Electronic Devices, Microfiber Cloth Wipes and 2 Nozzles
SCREEN CLEANER SPRAY and cloth are designed for the high-end devices and works flawlessly for all electronic screens,...
As an affiliate, we earn on qualifying purchases.
Using Quick Start and Transferring Data
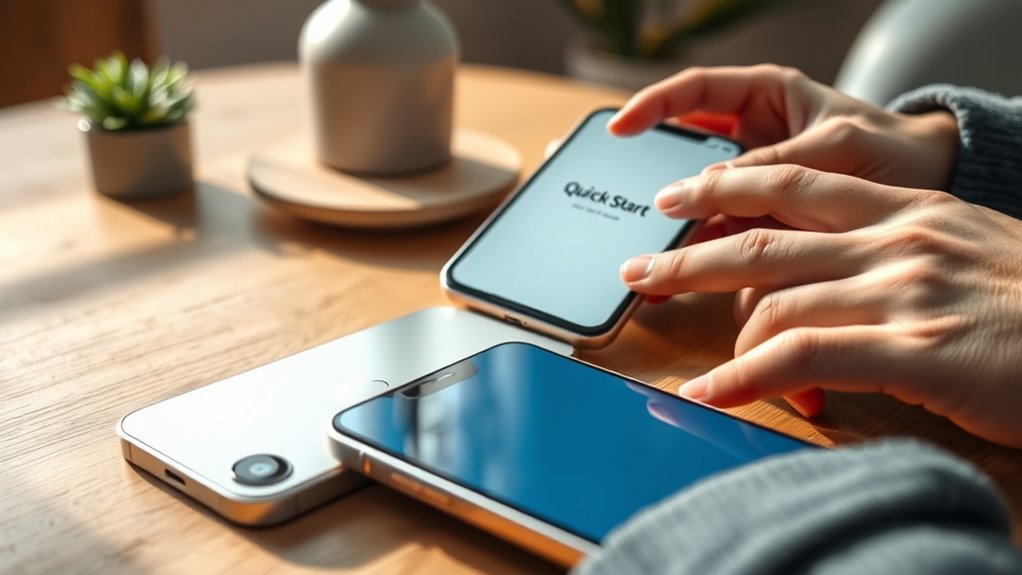
If you have an old iPhone running iOS 11 or later, you can quickly set up your new device using Quick Start. Simply bring your old iPhone close to your new one, and a prompt will appear on your old device asking if you want to use it to set up the new one. Follow the on-screen instructions to transfer apps, data, and settings automatically. If you prefer, you can choose “Set Up Manually” to skip data transfer. For iCloud users, restoring from a backup during setup guarantees your data stays intact. You can also select specific apps or data to transfer, customizing your setup process. This method saves time and helps you get started without needing to manually move everything. Additionally, utilizing European cloud servers can enhance your data security and sustainability during this process.

Koala Eyeglass Lens Cleaner Spray Kit | (2x) Glasses Cleaner Bottle + (2x) Microfiber Cloth | Alcohol Free Eyeglasses, Screen, and Camera Cleaning Kit | Made in USA (4 Piece Set)
CRYSTAL CLEAR VISION – EVERY TIME: Our obsessively engineered, best-in-class formula is the only streak-free glasses cleaner that...
As an affiliate, we earn on qualifying purchases.
Connecting to Wi-Fi and Setting Up Cellular Service

To get your iPhone up and running, you’ll need to connect to a Wi-Fi network and activate your cellular service. Make sure you have your Wi-Fi password ready and insert your SIM card or activate an eSIM. Once connected, your device will complete activation and be ready to use. Establishing a reliable sleep routine for your device can help optimize performance and battery life.
Wi-Fi Network Connection
Connecting your iPhone to a Wi-Fi network is essential for activating the device and completing setup. A stable Wi-Fi connection guarantees smooth activation and access to features like iCloud backup and app downloads. To connect:
- Tap the Wi-Fi icon on the setup screen.
- Select your preferred Wi-Fi network from the list.
- Enter the Wi-Fi password if prompted.
- Tap “Join” to connect.
Make sure you’re within range of your Wi-Fi router for a strong signal. If the connection fails, try restarting your router or selecting a different network. Once connected, your iPhone can activate with Apple servers and sync your data seamlessly. A reliable Wi-Fi connection simplifies setup, updates, and initial configuration. Ensuring a strong Wi-Fi signal enhances the overall setup experience and prevents connectivity issues.
Activating Cellular Service
After successfully connecting your iPhone to Wi-Fi, you’ll need to activate cellular service to enable calls, texts, and mobile data. For most models, this involves inserting a physical SIM card or activating an eSIM. Once inserted, go to Settings > Cellular to verify that your plan is activated. If you see an error or no service, try restarting your iPhone or removing and reinserting the SIM. Some carriers also require you to complete activation through their app or website. If you encounter ongoing issues, contact your carrier for assistance. Trusted businesses and services near you can often assist with activation or troubleshooting. Once activated, your iPhone will connect to Apple’s servers, completing the setup process. Confirm service is working by making a call or sending a text, ensuring your device is fully ready to use.
![UNBREAKcable for iPhone 17 Screen Protector, 3-Pack Full Coverage Tempered Glass Screen [Military Grade Shatterproof] [9H Hardness] [Bubble Free] [Easy Installation] [99.99% HD Clear] for iPhone 17](https://m.media-amazon.com/images/I/41bcuX0BWJL._SL500_.jpg)
UNBREAKcable for iPhone 17 Screen Protector, 3-Pack Full Coverage Tempered Glass Screen [Military Grade Shatterproof] [9H Hardness] [Bubble Free] [Easy Installation] [99.99% HD Clear] for iPhone 17
𝐄𝐱𝐜𝐥𝐮𝐬𝐢𝐯𝐞 𝐂𝐨𝐦𝐩𝐚𝐭𝐢𝐛𝐥𝐞 𝐰𝐢𝐭𝐡 𝐢𝐏𝐡𝐨𝐧𝐞 𝟏𝟕 - This Unbreakcable screen protector only compatible with iPhone 17, rejects universal films....
As an affiliate, we earn on qualifying purchases.
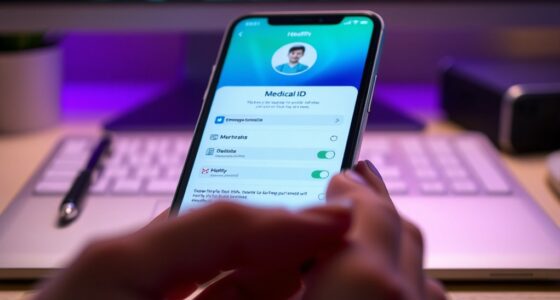
Configuring Security Features and Authentication

Setting up security features and authentication on your new iPhone is essential for protecting your personal data. You want to guarantee only you can access your device and sensitive information. First, follow the on-screen prompts to set up Face ID or Touch ID for quick, secure access. Second, create a strong device passcode—avoid simple combinations. Third, enable Two-Factor Authentication for your Apple ID to add an extra security layer. Fourth, activate Apple Pay and iCloud Keychain to safely manage payments and passwords. These steps help safeguard your data against unauthorized access and enhance your device’s security. Regularly review and update your security settings to stay protected as new features and updates become available. Incorporating essential security measures such as these can further strengthen your device’s defenses against threats.
Personalizing Display Settings and Preferences

Once you’ve secured your device with the right security features, personalizing your display settings helps make your iPhone more comfortable and visually appealing. You can adjust appearance modes, font sizes, and brightness to suit your preferences. For example, switching between Light and Dark mode can reduce eye strain and save battery life. You can also customize text size for easier reading. To make adjustments, go to Settings > Display & Brightness. Use the table below to explore key options: Luggage & Bags
Setting up Backup, Software Updates, and Find My Iphone
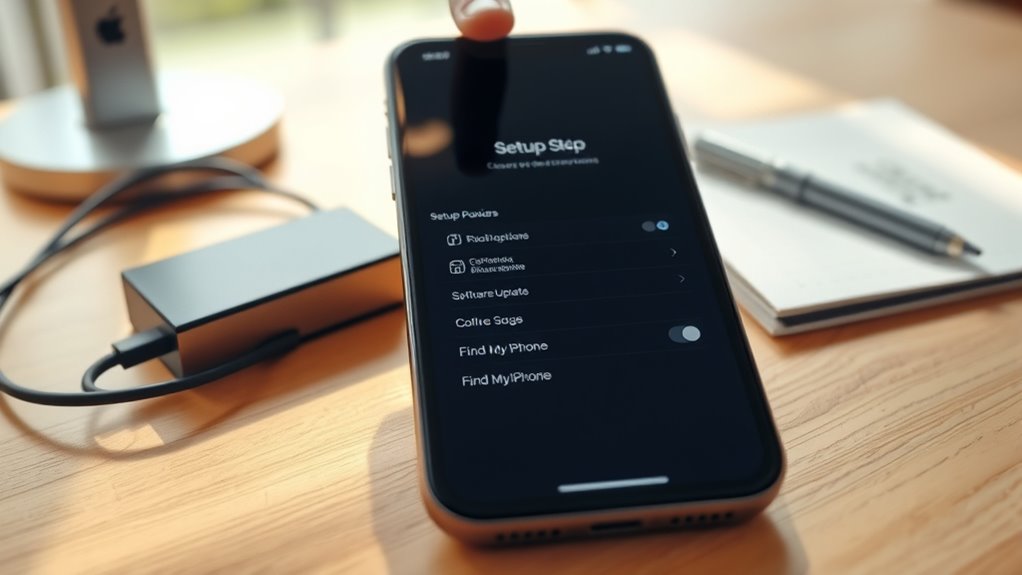
To guarantee your iPhone stays secure and up-to-date, it’s important to set up backup options, enable software updates, and activate Find My iPhone. This keeps your data safe, ensures your device runs smoothly, and helps locate it if lost. Here’s what you should do:
- Turn on iCloud Backup in Settings > [your name] > iCloud > iCloud Backup, and tap “Back Up Now.” Enabling iCloud Backup ensures your data is regularly saved without manual intervention and is a key security feature.
- Enable Automatic Updates in Settings > General > Software Update > Automatic Updates.
- Activate Find My iPhone in Settings > [your name] > Find My > Find My iPhone, then toggle it on.
- Make sure Location Services are enabled in Settings > Privacy > Location Services for Find My iPhone to work correctly.
Finalizing Settings and Customizing Your Experience

After completing the initial setup and ensuring your apps and data are transferred, you can personalize your iPhone to suit your preferences. Adjust settings like appearance, notifications, and privacy to create a tailored experience. This is your chance to enable or disable features such as Siri, Location Services, or analytics sharing. Use the Control Center for quick access to essential functions, and set up widgets for at-a-glance information. Consider organizing your home screen for efficiency. The table below offers insights into key customization choices:
| Setting | Impact |
|---|---|
| Appearance (Light/Dark) | Visual comfort and style |
| Notifications | Timely alerts, reduces distraction |
| Privacy Settings | Protects your data |
| Widget Placement | Quick info access |
| Siri & Voice Commands | Hands-free control |
Additionally, exploring device customization options can help you optimize your iPhone’s performance and appearance to better meet your needs.
Frequently Asked Questions
How Do I Troubleshoot Activation Issues During Setup?
If you’re having activation issues during setup, first confirm your Wi-Fi connection is stable and strong. Restart your iPhone and try again. Check that your SIM card is properly inserted or eSIM activated. If problems persist, toggle airplane mode on and off, or reset network settings in Settings > General > Reset. Contact your carrier if activation still fails, as they can help resolve carrier-related issues or provide a new SIM.
Can I Skip Setting up Face ID or Touch ID?
Yes, you can skip setting up Face ID or Touch ID during initial setup. When prompted to configure these security features, simply choose the option to set them up later. You can add them anytime afterward by going to Settings > Face ID & Passcode or Touch ID & Passcode. Skipping this step initially doesn’t affect your phone’s basic functionality, and you can enable secure authentication at your convenience.
What Should I Do if My Iphone Won’T Connect to Wi-Fi?
If your iPhone won’t connect to Wi-Fi, think of it as a stubborn puzzle piece. First, toggle Wi-Fi off and on again, like flipping a switch to spark life into the connection. Restart your device and router, and double-check the Wi-Fi password—sometimes, the simplest fix is all it takes. If it still won’t connect, forget the network and reconnect, or reset network settings to clear any lingering glitches.
How Do I Transfer Data From an Android Device?
To transfer data from your Android device, start by turning on your new iPhone and selecting the “Move Data from Android” option during setup. Then, on your Android, download the “Move to iOS” app from the Google Play Store. Open the app, follow the prompts, and connect both devices to the same Wi-Fi network. Follow instructions on your iPhone to complete the transfer of your contacts, photos, messages, and more.
Is It Necessary to Enable All Security Features Immediately?
No, you don’t have to activate all security features immediately, but it’s highly recommended. Setting up features like Face ID, Touch ID, and a passcode right away helps protect your data from the start. You can enable other security options like Two-Factor Authentication or Find My iPhone later, but doing it during setup ensures your device is secure from day one. Prioritize the most critical security features first for better protection.
Conclusion
Now that you’ve completed the setup, your new iPhone is ready to go. But wait—there’s more to explore that can enable even greater potential. Are you prepared to customize your notifications, manage app permissions, or set up advanced security? Your journey doesn’t end here. Dive deeper, experiment, and discover all the hidden features waiting to transform your iPhone experience into something truly extraordinary. The possibilities are just a tap away—are you ready to find out what’s next?