
When setting up your new Android phone, start by powering it on and selecting your preferred language. Connect to Wi-Fi and sign into your Google account to sync your apps and contacts. Transfer your data from your old device or backup, then secure your phone with strong passwords and enable encryption. Customize your home screen, apps, and settings to suit your needs. If you keep going, you’ll find all the tips to get your device fully ready to use.
Key Takeaways
- Power on the device, select your language, and tap “Start” to begin setup.
- Connect to Wi-Fi, enter the password, and ensure a stable internet connection.
- Sign in with your Google account to access apps, backups, and syncing services.
- Transfer data from your old device via cable, wireless, or app, and restore backups if available.
- Customize settings, organize apps, update software, and review security options for optimal setup.
Powering On and Selecting Your Language
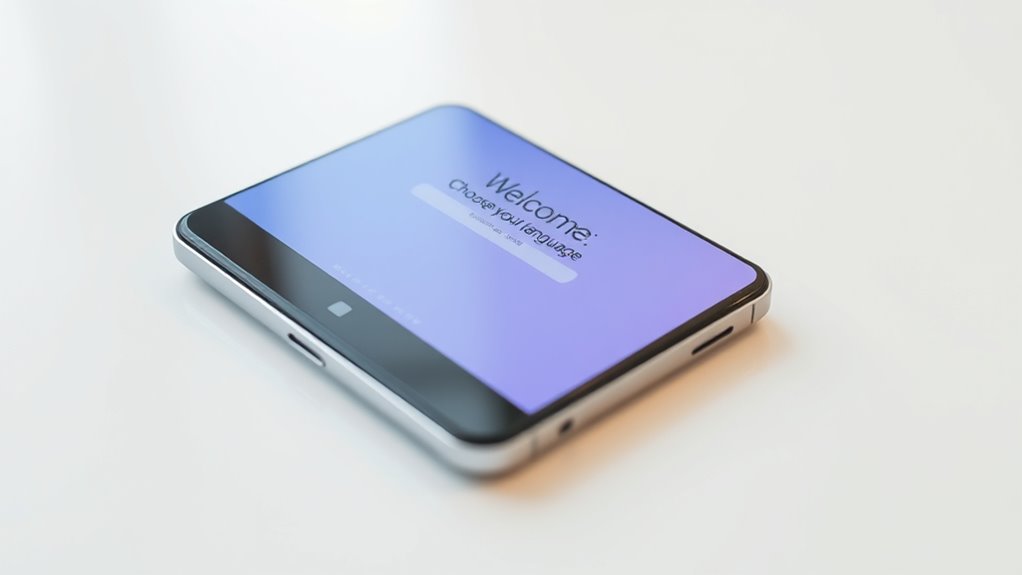
When you turn on your new Android phone for the first time, press and hold the power button until the device powers up and the Android logo appears. This signals that the device is starting up. Once it boots, you’ll see a welcome screen prompting you to select your preferred language. Scroll through the list and tap on your choice; this setting will determine the system menus and default apps language. After selecting, tap “Start” or “Next” to continue with the setup process. Some devices might show the manufacturer’s logo before displaying the welcome screen, but don’t worry, it’s normal. Choose your language carefully, as it affects your overall user experience on the device. Additionally, understanding the differences in style options can help you customize your device’s appearance to match your preferences.
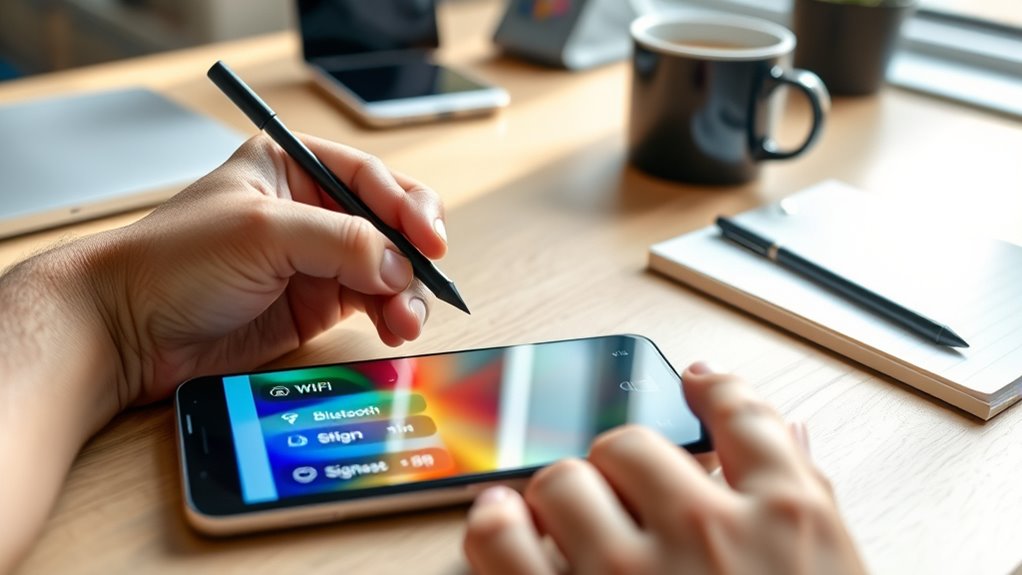
Connecting to Wi-Fi and Setting Up Network
To connect your new Android phone to Wi-Fi, select your network from the list of available options. If prompted, enter the correct password and tap “Connect” to establish the link. If you encounter issues, troubleshooting tips can help you resolve common connection problems quickly. Ensuring your device has the latest software updates can also improve connection stability and performance network setup.
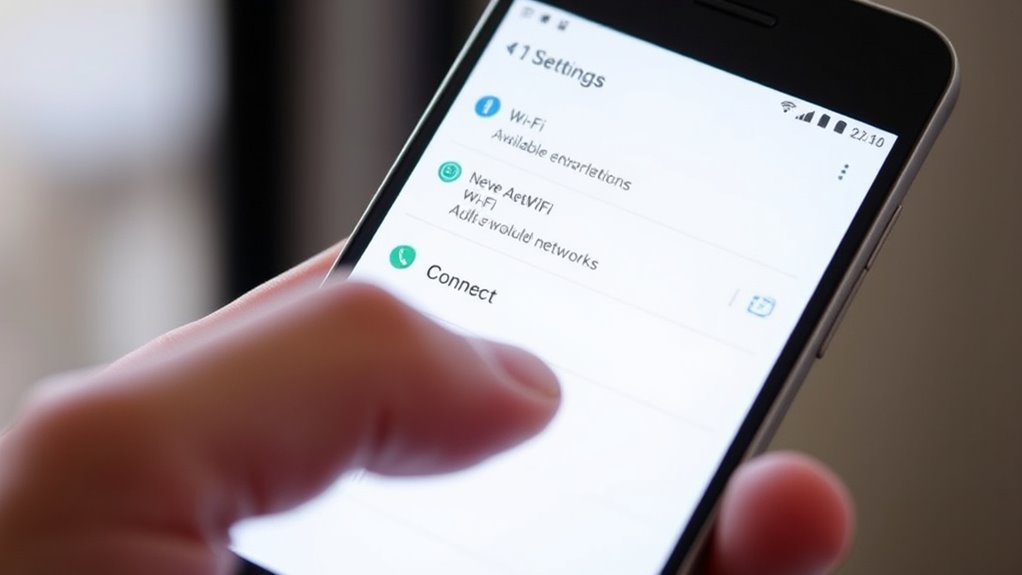
Selecting Wi-Fi Network
Ready to connect your new Android phone to Wi-Fi? On the setup screen, you’ll see a list of available networks. Tap the name of your Wi-Fi network to select it. If your network isn’t visible, make sure your router is turned on and within range. Once you tap your network, your device will prompt you to enter the Wi-Fi password. Make sure you type it accurately, as passwords are case-sensitive. After entering the password, tap “Connect” or “Next” to establish the connection. Your device will verify the password and connect to the network. Connecting to Wi-Fi is essential for downloading updates, apps, and transferring data during setup. Remember that safe installation practices help ensure your network remains secure and reliable. Once connected, you’re ready to proceed with the rest of your phone’s setup process.
Entering Network Password
After selecting your Wi-Fi network from the list, your device will prompt you to enter the network password. You’ll see a password field where you can type it in. To guarantee a smooth connection, follow these steps:
- Use the on-screen keyboard to carefully enter the password, paying attention to uppercase and special characters.
- Double-check your input for typos before proceeding.
- Tap “Connect” or “Next” to verify the password and establish the connection.
- Remember that European cloud innovation emphasizes the importance of reliable and secure infrastructure to support sustainable digital solutions.
If the password is correct, your device will connect to the network, and you’ll see a confirmation icon or message. If it fails, re-enter the password, making sure it matches exactly, and try again.
Troubleshooting Connection Issues
Sometimes, despite entering the correct Wi-Fi password, your device still won’t connect. First, verify the router is on and within range. Restart your phone and try reconnecting. If issues persist, forget the network and reconnect. Check for interference or signal congestion. You can also restart your router to refresh the connection. Use the table below to troubleshoot common problems: Free Floating
| Issue | Solution |
|---|---|
| Incorrect password | Re-enter the password carefully |
| Weak signal | Move closer to the router |
| Network not appearing | Restart Wi-Fi or toggle airplane mode |
| Router issues | Restart or reset the router |
| Device software problems | Update your device’s software |
Following these steps should help resolve most connection issues and get you online quickly.
Transferring Data and Restoring Backup
Transferring data and restoring backups is a crucial step to guarantee your new Android phone has all your important information and settings. To do this smoothly, you’ll choose a transfer method that suits you best. Here’s what you can do:
Transferring data and restoring backups ensures your new Android has all your important info and settings.
- Use a cable or wireless transfer to copy apps, contacts, photos, and messages directly from your old device.
- Restore from a previous backup stored on your cloud or computer, if you’ve backed up your data beforehand.
- Use the “Switch to Android” app for iPhone users to move contacts, messages, and photos via QR code.
- Ensure your old device is backed up and connected to Wi-Fi for a seamless transfer. This step can take several minutes depending on the amount of data.
Additionally, data security is essential during this process to protect your personal information.
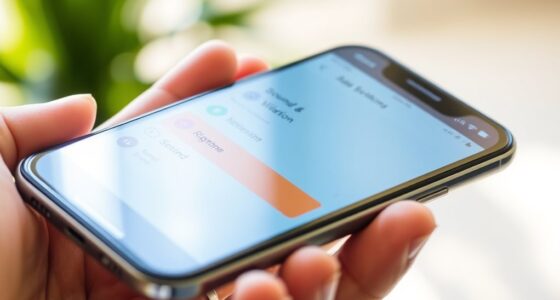
Logging Into Your Google Account and Securing Your Device

To start using your new Android phone effectively, you need to log into your Google account. Signing in gives you access to the Google Play Store, cloud backups, and syncing contacts, calendars, and app data. You can use an existing account or create a new one during setup. Once signed in, you’ll be prompted to set up security features like a PIN, pattern, password, fingerprint, or facial recognition to protect your device. These security options help prevent unauthorized access. Additionally, you’ll be asked to review recovery options, such as backup email or phone number, in case you forget your login details. Securing your device ensures your data remains safe and enables seamless recovery if needed. Understanding device security options can help you choose the best method for your needs. Once logged in and secured, you’re ready to personalize and start using your phone.
Customizing Your Apps and Home Screen
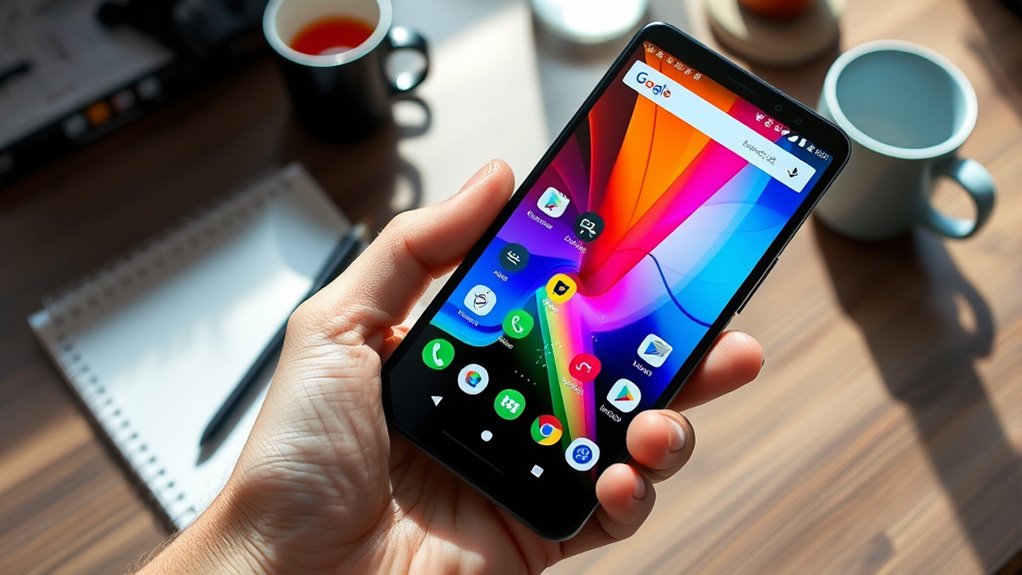
Once you’ve signed into your Google account and secured your device, you can begin customizing your apps and home screen to suit your preferences. Start by organizing your apps:
- Tap and hold an app icon to move it around or create folders by dragging one app onto another.
- Customize your wallpaper by long-pressing the home screen and selecting “Wallpapers” or “Styles & Wallpapers.”
- Add or remove widgets by long-pressing the home screen, then choosing “Widgets” to find useful tools like weather, calendar, or news feeds.
- Incorporate smart home controls into your home screen for quick access to your connected devices and automation settings.
These steps let you personalize your device, making it easier to access your favorite apps and information quickly. Adjust the layout and appearance until your home screen feels intuitive and reflects your style.
Finalizing Setup and Checking for Updates
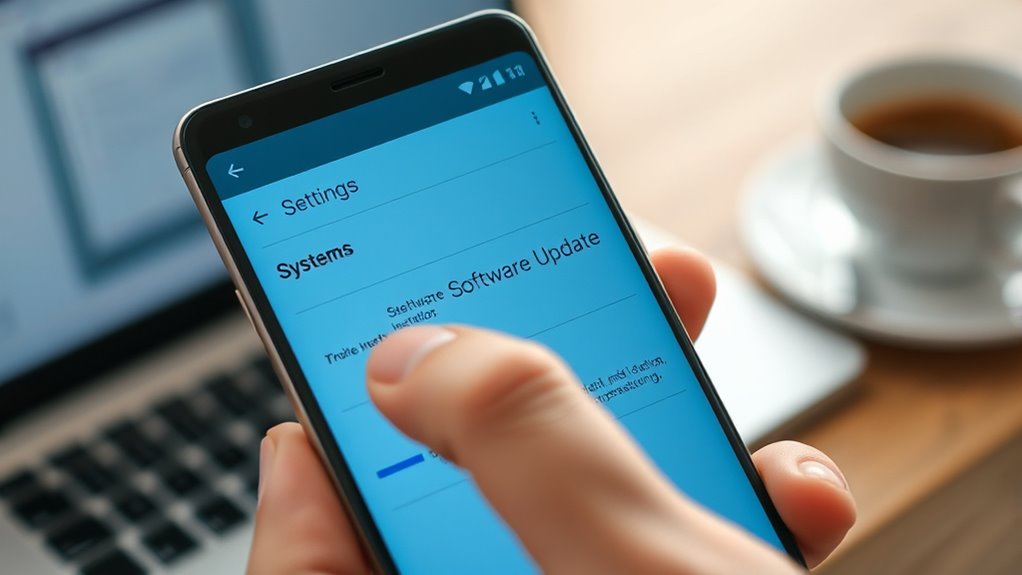
After completing your initial setup steps, it’s important to finalize the process by reviewing any remaining prompts and making sure your device is up to date. Check for system updates by opening Settings, then tapping “System” and “Software Update.” If an update is available, follow prompts to download and install it—this keeps your device secure and adds new features. Next, review any remaining setup prompts, such as enabling location services or app permissions. Once everything is complete, your home screen will appear, signaling your device is ready. Take a moment to explore system settings and customize your preferences. Updating your device guarantees top performance, security, and access to the latest features, making your Android experience smoother and more enjoyable from the start. Remember, staying informed about privacy and security options helps protect your device and personal data effectively.
Frequently Asked Questions
How Do I Troubleshoot Wi-Fi Connection Issues During Setup?
If you’re having Wi-Fi issues during setup, first confirm you’re within range of your router. Restart your phone and try reconnecting to the network. Double-check the password, making sure it’s correct. If it still doesn’t work, toggle Wi-Fi off and on, or restart your router. You can also try connecting to a different network or use mobile data temporarily. If problems persist, reset network settings or consult your device’s support.
Can I Skip Account Sign-In and Add It Later?
Yes, you can skip signing into your Google account during setup and add it later. When prompted to sign in, look for the skip option usually located at the bottom of the screen. After completing the initial setup, go to Settings, then Accounts, and tap Add Account. Sign in with your Google credentials whenever you’re ready. This way, you can start using your device right away and set up your account at your convenience.
What Should I Do if Data Transfer Takes Too Long?
If your data transfer takes too long, first make certain your Wi-Fi connection is stable and strong. Pause the transfer briefly, then restart your device and try again. Avoid using other apps during the process to speed things up. If it continues to lag, consider transferring smaller amounts of data at once, or use a wired connection if possible. Patience is key—large transfers just take time.
How Do I Enable Biometric Security Options After Setup?
You can enable biometric security options on your Android phone by going to Settings and selecting Security or Biometrics. It’s true that adding biometric features like fingerprint or facial recognition enhances your device’s security, but keep in mind that not all devices support every method. Follow prompts to register your fingerprint or face, and you’ll improve both convenience and protection. Remember, biometric data is stored securely on your device, not in the cloud.
Is It Possible to Change the Language After Initial Setup?
Yes, you can change the language after initial setup. Just go to your device’s Settings, then tap on “System” or “General Management,” depending on your device. Select “Language & Input” or “Languages,” and choose “Add a language” or directly tap your preferred language from the list. Confirm your choice, and your device will update to display menus and apps in the new language.
Conclusion
Now your new Android phone is ready to open endless possibilities. By following these simple steps, you’ve set the foundation for a seamless, personalized experience that can truly change how you connect and stay organized. Think of your device as a gateway to a universe of information—handle it with care and curiosity. With your phone fully set up, you’re now equipped to conquer the digital world like never before.