Fixing your phone screen yourself with a DIY repair kit can save money and time, but it’s not for everyone. You’ll need steady hands, patience, and some technical skill to avoid causing further damage. While these kits often include everything you need, improper installation can lead to poor calibration or even more costly repairs. If you’re willing to handle the challenge carefully, you might succeed—otherwise, exploring other options could be wiser. Keep going to learn more about what’s involved.
Key Takeaways
- DIY kits are cost-effective but require skill and patience to avoid further damage.
- Proper tools and step-by-step instructions increase repair success and reduce risks.
- Repairing your screen yourself may void your phone’s warranty and cause calibration issues.
- Suitable for tech-savvy, budget-conscious individuals willing to handle delicate tasks.
- For complex or high-value devices, professional repair might be safer and more reliable.
Have you ever cracked your phone screen and wondered if you can fix it yourself? If so, you might be considering a DIY screen repair. With the rise of DIY screen repair kits, many people feel empowered to tackle the job without paying for professional help. These kits often include everything you need for a screen replacement, such as replacement screens, repair tools, and step-by-step instructions. But before diving in, it’s important to understand what’s involved and whether it’s the right choice for you.
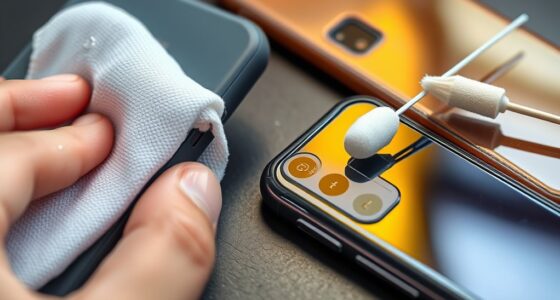
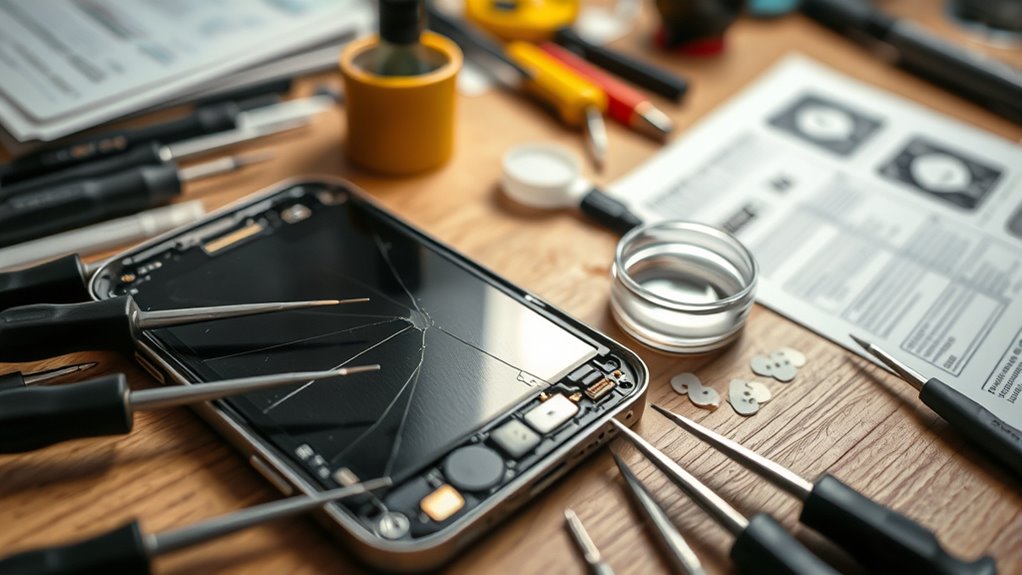
First, a DIY screen repair kit can be a cost-effective way to address a cracked or shattered screen. Instead of paying hundreds for professional repairs, you can potentially save money by doing it yourself. The key to a successful repair lies in having the right repair tools. These typically include precision screwdrivers, plastic prying tools, suction cups, and sometimes tweezers or adhesive strips. Having quality repair tools makes all the difference because they help you carefully disassemble your device without causing further damage. Many kits also come with a replacement screen that matches your phone model, which is *essential* for a seamless repair.
A DIY screen repair kit saves money with essential tools and matching replacement screens for seamless fixes.
However, it’s not just about having the right repair tools; you also need patience and a steady hand. The process of screen replacement requires you to carefully remove the broken glass, disconnect delicate internal connectors, and install the new screen. Any misstep can lead to additional damage or a non-functioning device. So, if you’re tech-savvy and comfortable following detailed instructions, you might find DIY screen repair to be rewarding. But if you’re nervous about damaging your phone further, it might be better to leave it to the professionals.
Another consideration is the risk involved. DIY repairs can sometimes void your phone’s warranty or result in a poorly calibrated screen, which can affect touch sensitivity and display quality. Also, some phones have tightly integrated components, making the disassembly more complex than it seems. If you decide to proceed, make sure to watch detailed tutorials and double-check that your repair tools are compatible with your specific model.
Frequently Asked Questions
How Long Does a Typical DIY Screen Repair Take?
A typical DIY screen repair usually takes between 30 minutes to an hour, depending on your skill requirements and the complexity of your phone. If you’re experienced, you might finish faster, but beginners should set aside extra time for careful disassembly and reassembly. Keep in mind that timing expectations can vary based on your familiarity with small tools and patience, so don’t rush the process to avoid damaging parts.
What Safety Precautions Should I Follow During Repair?
You should prioritize safety by wearing safety gear like gloves and eye protection to prevent injury from glass shards. Set up a clean, well-lit workspace free of dust and static to avoid damaging delicate components. Keep small tools organized, and work slowly to prevent slips or mistakes. Always disconnect your phone from power, and handle components carefully to guarantee both your safety and a successful repair.
Can DIY Repair Void My Phone’s Warranty?
Fixing your phone yourself is like opening Pandora’s box—there’s a chance it could void your warranty. Many manufacturers’ policies clearly state that DIY repairs can lead to warranty implications, especially if they detect unauthorized repairs. Before you plunge in, check your device’s warranty terms and manufacturer policies. If they’re strict, consider professional repair options to avoid losing coverage or causing further damage.
Are There Risks of Further Damage Using DIY Kits?
Using DIY kits does carry risks of further damage if you’re not cautious. To improve your repair success rate, follow all precautionary measures carefully, like disconnecting the battery and working in a dust-free environment. Even with these steps, there’s still a chance of damaging delicate components or causing misalignment. If you’re unsure, seeking professional help can reduce risks and guarantee a safer, more reliable repair.
How Do I Choose the Best DIY Screen Repair Kit?
Choosing the best DIY screen repair kit is like finding a needle in a haystack, but you can succeed. Look for kits with clear instructions, essential repair components like adhesive and tools, and positive reviews. Consider the repair cost—cheaper isn’t always better. A well-rounded kit with quality components guarantees you avoid further damage. Trust reputable brands and check for compatibility with your phone model.
Conclusion
So, next time your phone screen shatters unexpectedly, remember that a DIY kit might just be your saving grace. Sometimes, a simple fix can turn frustration into relief, especially when you realize you’ve saved money and learned a new skill. It’s funny how life throws these little surprises—like a broken screen leading to a sense of accomplishment. With the right tools and a bit of patience, you might just surprise yourself and make that phone feel brand new again.